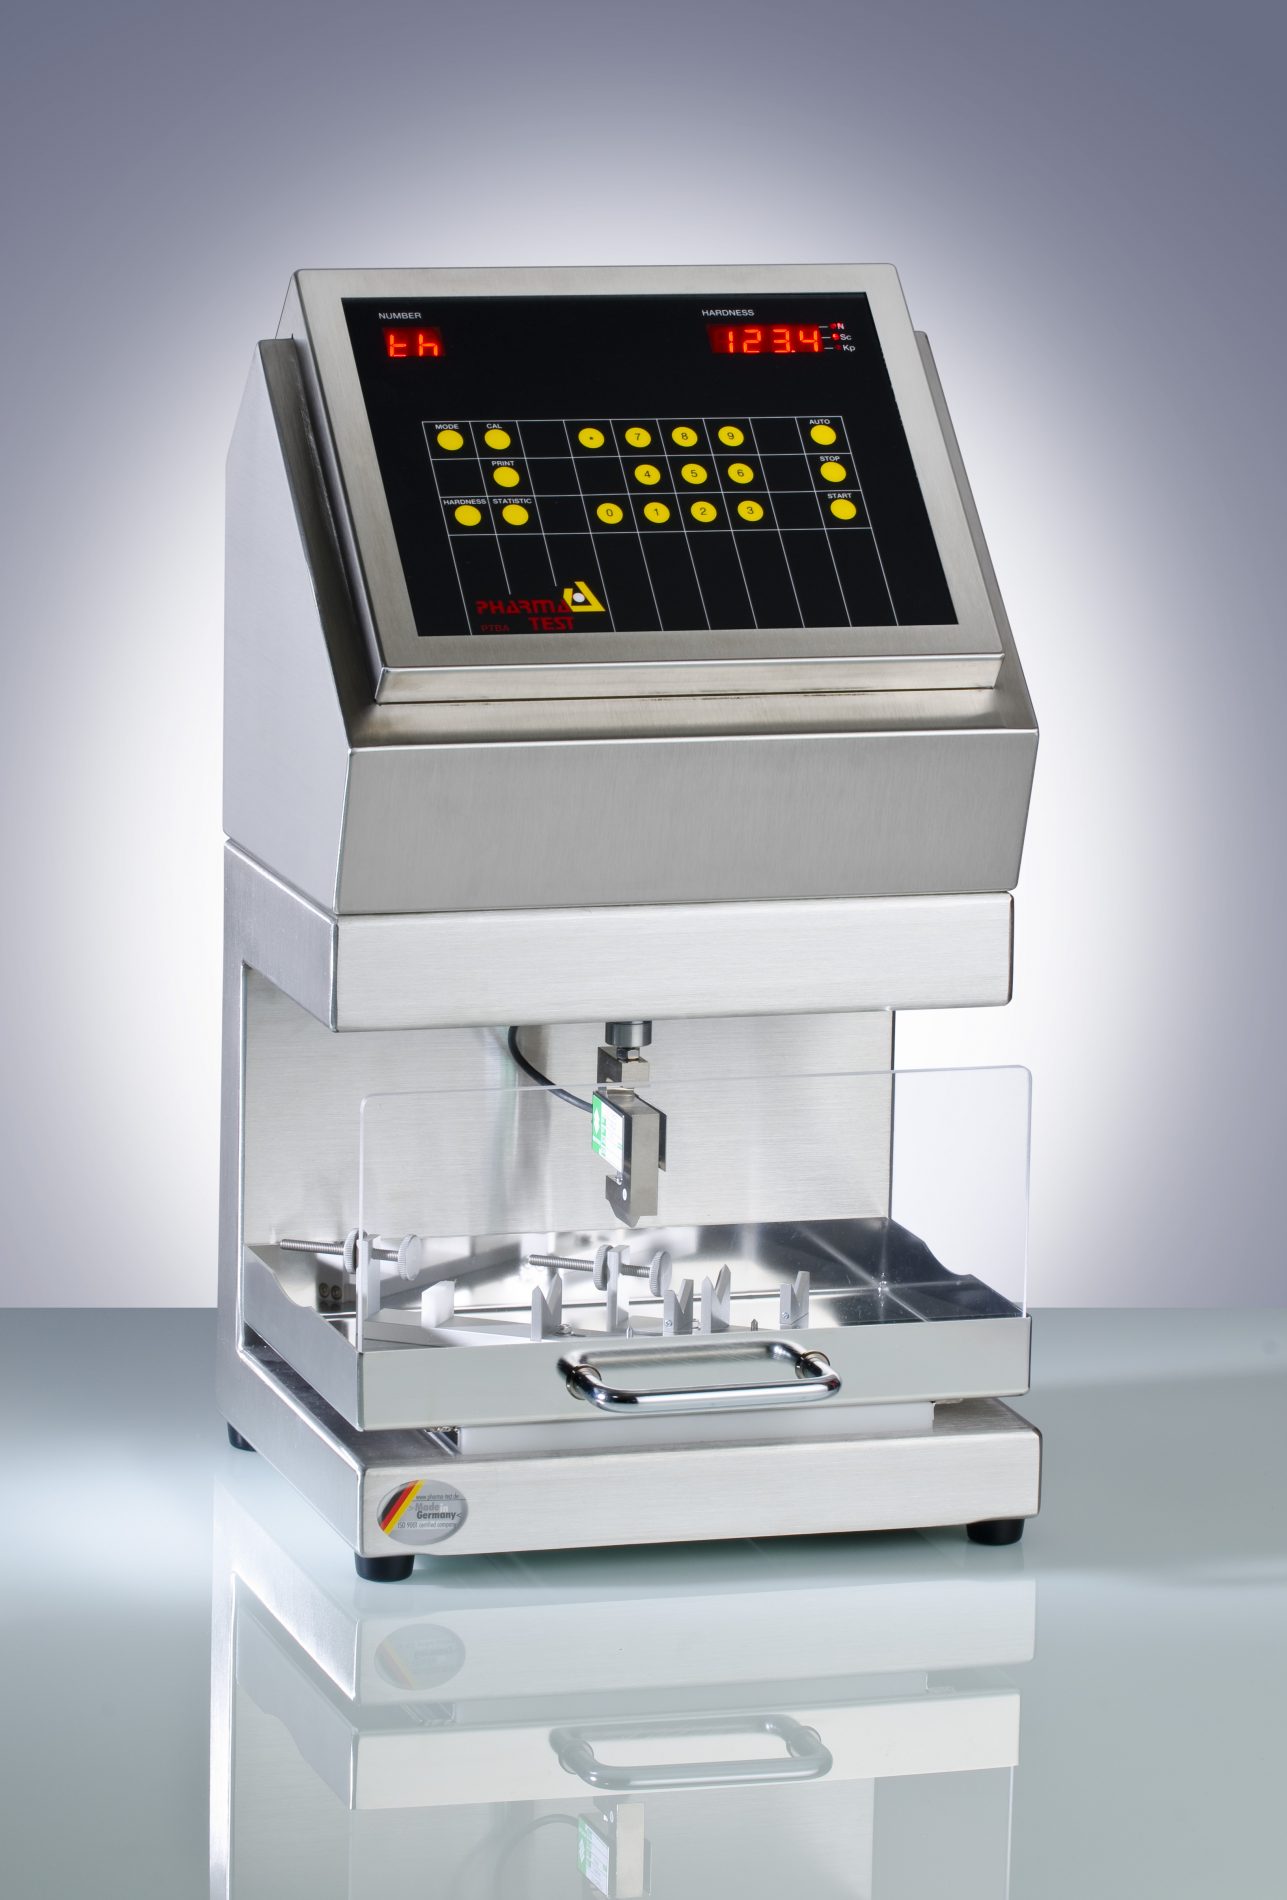
PTBA 211E ampoule breakpoint tester to control the quality during production of empty ampoules
The PTBA 211E ampoule breakpoint tester is design and manufactured in compliance to the EN-ISO [9187-1/2:2010] standard. According to the DIN/ISO standards Ampoule Breakpoint has to be tested in order to control the quality during production of empty ampoules and prior to the filling process.
PTBA 211E Ampoule Breakpoint Testing Instrument
Print-Out Results
The result is immediately displayed and printed to a connected dot-matrix or suitable PCL5 type Laser-Jet or a Dot-Matrix printer. Repeat this until your series has been tested, get a full print-out including each individual result, date, time, serial number of the instrument, batch number of the product tested, mean value and deviations of the test series.
Operating Principle
The PT-MT3 can be supplied fully certified. The system acts as a type of tablet simulator, which once broken can, unlike real tablets, be reset for the next test. At the end of a test it's possible to compare the force reading at the tested Hardness Tester and the actual setting at the PT-MT3, they should match if the Hardness Tester works well. Also the testing time can be measured, means the time when the strike arm or jaw of the hardness tester hits the load cell at the finger until breakpoint has been detected. This will allow to qualify instrument which run on a constant Speed and Force Mode. In this case the time needed to break the magnetic finger should always be the same within minor tolerances.
Parameter | Specification |
Display | LED Display showing number of tests and breakpoint result |
Data Entry | Numerical and Functional keys |
Standard Force Range | 5.0 to approximately 300N (optional 500N) |
Accuracy | < 1N |
Resolution | 0.074N (300N model) - 0.1482N (500N model) |
Force Settings | Linear speed or linear force increase (standard setting: 10 mm/Min) |
Selectable Range | 5.0 - 200 N/Second or Millimeter/Minute |
Accuracy | < 2% force or < 0.1% speed |
Printer | Parallel Interface to connect Dot-Matrix or PCL 5 Printer |
Interface | RS232 COM port |
Calibration Guidance | Built-in calibration procedures the digital load cell |
Adjustments | Two point adjustment - zero and 10kg |
Calibrations | Multiple point for load cell precision using certified weights (PT-CAL15/30 and PT-CAL 50) |
Force Detection Reproducibility | PT-MT3 Magnetic Tablet and suitable support |
Instrument Housing | Stainless Steel (312) to meet GLP requirements |
Bench Space Requirement | L 30cm x W 30cm x H 48cm (without external printer ) |
Certification | All components certified to USP / EP requirements |
CE / EMC Certification | All CE / EMC Certification provided |
Validation | All IQ & OQ documents included |
We reserve the right to make technical changes without any prior notice.